 Lynden Exterior
 Why Siding Installation in Nooksack Requires a Different Standard
Nooksack sits in the Nooksack River valley, close enough to the Salish Sea that marine air moves through the valley on a regular basis, and far enough from the water that people sometimes assume salt exposure isn't a factor here. It is. Salt-laden air rides inland on prevailing weather patterns and settles on exterior surfaces, where it accelerates corrosion of fasteners, trim metal, and any siding product that isn't built to resist it. Add Whatcom County's driving rain — rain that doesn't fall straight down but gets pushed sideways into wall assemblies during winter storms — and you have a climate that punishes any siding installation with weak flashing details or gaps in the weather barrier.
Then there's moss. Western Washington's combination of shade, moisture, and mild temperatures gives moss a long growing season, and siding that stays damp for extended periods is exactly what moss and algae need to take hold. On tree-shaded lots, which are common around Nooksack, north- and east-facing walls can stay wet for days after a storm passes. Siding installation here isn't just about getting boards on the wall — it's about building an assembly that sheds water, resists moss colonization, and holds up to salt-influenced air year after year.
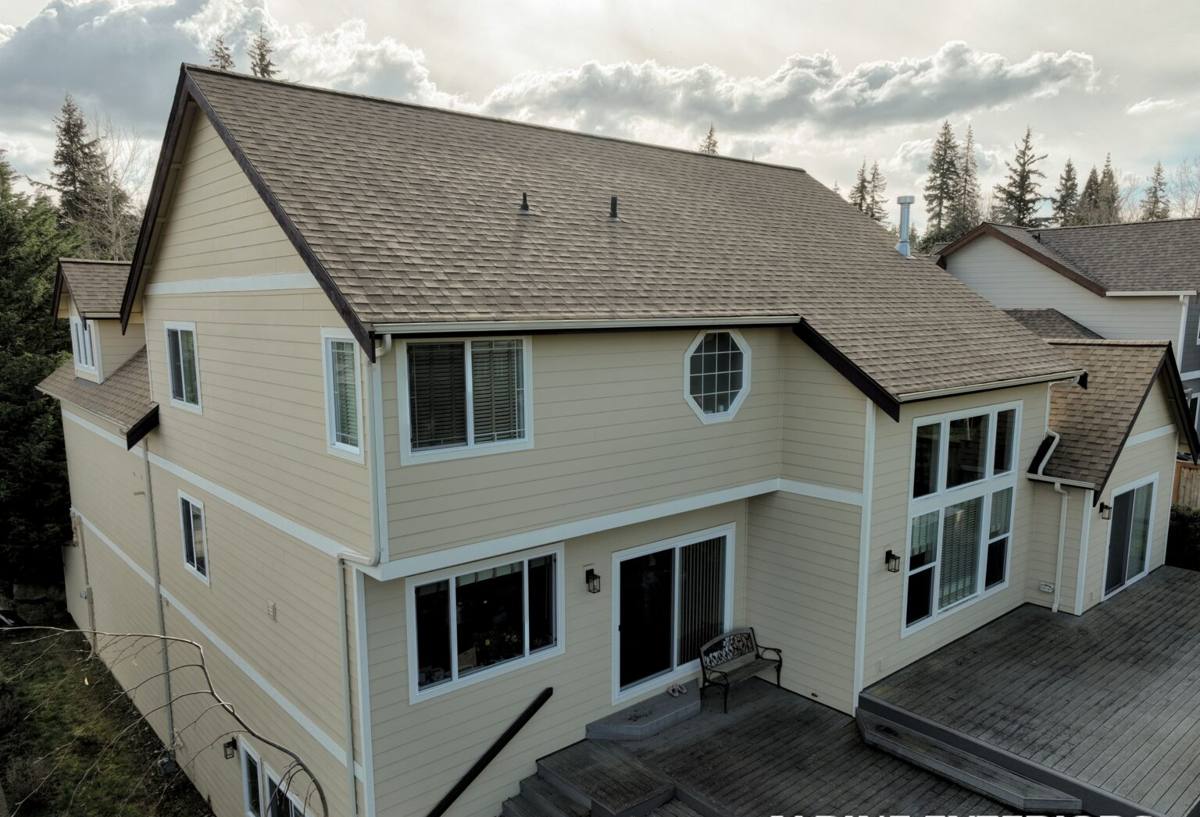
What a Correct Siding Installation Actually Involves
A siding job that looks fine on install day but fails in five years almost always fails for the same reasons: a weather-resistive barrier that wasn't lapped correctly, flashing that was skipped or installed backward, fasteners that missed the framing, or gaps and clearances that were ignored. None of these mistakes are visible from the street. They show up later as staining, soft spots, or paint failure — usually after the crew that installed it is long gone.
The details that matter
- A continuous, properly lapped weather-resistive barrier behind the siding, with all penetrations sealed
- Correct flashing at every window, door, and roof-to-wall transition — installed in the right shingle-lap order so water is directed out, not in
- Fasteners driven into solid framing at the manufacturer's specified pattern and depth, not just into sheathing
- Proper clearance between the siding's bottom edge and grade, decks, roofs, and other hard surfaces so water can't wick up into the material
- Correct joint gaps and caulking at butt joints, corners, and trim so the assembly can handle seasonal movement
- Rainscreen or drainage space where the wall assembly calls for it, so moisture that does get behind the siding has somewhere to go
Skipping any one of these doesn't necessarily cause a problem in year one. It causes a problem in year six or seven, which is exactly why cutting corners is so common — the contractor is long gone by the time it shows up.
Why We Only Install James Hardie Fiber Cement
We made a decision, early on, to install one siding system and install it correctly rather than offer every product on the market and hope for the best. That system is James Hardie fiber cement. It's non-combustible, which matters in a region where wildfire smoke and ember exposure are a growing seasonal concern even west of the mountains. It's engineered specifically for the wet, mixed-humidity climate of the Pacific Northwest through Hardie's HZ10 product line, which is formulated to resist moisture damage, cracking, and warping better than materials designed for more moderate or dry climates.
The factory-applied ColorPlus finish is also a real advantage in an area with a long moss season and frequent rain: it's baked on under controlled conditions, resists fading and chipping better than field-applied paint, and comes with its own finish warranty separate from the substrate warranty. We don't install LP SmartSide, vinyl, Cemplank, Allura, primed spruce, or cedar — not because those products have no merit, but because we'd rather stand behind one system we know inside and out than spread our expertise across products with different installation requirements, different failure modes, and different long-term maintenance demands. Homeowners considering those alternatives should ask hard questions about moisture behavior, maintenance burden, and warranty structure before committing — we're happy to walk through those trade-offs honestly, even if the answer for our crew is always Hardie.
Our Installation Process for Nooksack Homes
1. On-site assessment and measurement
We walk the home, check the condition of the existing wall assembly, identify any sheathing or framing damage that needs to be addressed before new siding goes up, and take precise measurements for material ordering.
2. Tear-off and wall prep
Old siding comes off, and we inspect what's underneath. Any rot, soft sheathing, or compromised framing gets repaired before anything new is installed — covering up a wet wall with new siding just hides the problem.
3. Weather barrier and flashing
A new weather-resistive barrier goes on with correct laps, and flashing is installed at every window, door, and roof intersection in the proper order to shed water outward.
4. Hardie installation to manufacturer spec
Siding, trim, and accessories are installed following James Hardie's fastening schedule, clearance requirements, and joint treatment — not a generic approach adapted from another product.
5. Final detailing and walkthrough
Caulking, touch-up, and a final walkthrough so you understand what was done and what to expect from the finished product over time.
Signs a Nooksack Home Needs New Siding
Not every siding problem is obvious from the driveway. Some of the clearest signs of a failing installation or aging material include:
- Visible warping, buckling, or boards that have separated from the wall
- Soft or spongy spots when you press on the siding, especially near the bottom courses
- Persistent moss or algae staining that returns quickly after cleaning
- Paint that's peeling or bubbling rather than just fading
- Rising energy bills that suggest the wall assembly is no longer performing as insulation and air barrier
- Visible gaps, cracked caulking, or daylight around trim and window edges
If you're seeing more than one of these, it's worth having the wall assembly looked at rather than just the surface material — siding problems are often a symptom of what's happening behind the boards.
Cost Factors for Siding Installation Projects
Every home is different, but the factors that drive cost on a Nooksack siding project are fairly consistent. We don't publish fixed pricing because wall condition, home size, and design complexity vary too much to make a flat number honest — but here's what typically moves the estimate:
| Factor | Why It Matters |
|---|---|
| Home size and number of stories | More square footage and taller walls mean more material and labor, plus added scaffolding or lift needs |
| Condition of existing sheathing | Rot or water damage found during tear-off requires repair before new siding goes on |
| Siding profile and trim complexity | Lap siding, panel systems, and shingle-style Hardie products install differently and carry different labor costs |
| Number of windows, doors, and roof transitions | Each one requires flashing work, which adds labor time regardless of wall square footage |
| Access and site conditions | Steep lots, tree cover, or tight setbacks common on Nooksack properties can affect staging and equipment access |
Why a Crew That Already Works in Nooksack Matters
Siding installation isn't a one-size-fits-all trade. A crew that regularly works homes in and around Lynden and Nooksack already understands how the local climate behaves — where moss tends to build up fastest, which wall orientations take the worst of the driving rain, and how to plan flashing and drainage details for a valley climate rather than a drier or more sheltered one. That local pattern recognition doesn't come from a manual; it comes from having done the work here repeatedly and seen what holds up and what doesn't.
It also means faster response for follow-up questions, warranty service, or future maintenance — you're not waiting on a crew that has to drive in from out of the area. For a project as consequential as your home's exterior envelope, that continuity matters.
Maintenance After Installation
James Hardie siding is low-maintenance compared to wood or vinyl, but "low-maintenance" doesn't mean "no maintenance," especially in a moss-prone climate like Whatcom County's. A simple annual routine keeps the investment protected:
- Rinse the siding annually with a garden hose to remove dirt, pollen, and early moss growth before it takes hold
- Inspect caulking at trim, corners, and penetrations every year or two and reseal where it's cracked or separated
- Trim back vegetation and tree limbs that keep walls shaded and damp longer than necessary
- Check gutters and downspouts to make sure water is being directed away from siding, not running down it
- Address any impact damage or chipped paint promptly so moisture can't get behind the finish
If your Nooksack home's siding is showing its age or you're planning a new install, we're glad to walk the property, answer questions honestly, and put together a free, no-pressure estimate — just fill out the form below to get started.