 Lynden Exterior
 Siding Built for Aldergrove, BC's Wet, Mossy Climate
Aldergrove sits in the stretch of the Fraser Valley where weather off the Pacific and the Strait of Georgia funnels straight in — long runs of driving rain, salt-tinged air working its way up through the valley, and winters mild enough that moss and algae never fully go dormant. For siding, that combination is tougher than it looks. Wood-based products absorb moisture and start to soften or delaminate from the inside out. Vinyl sheds rain fine but does little to slow moss and mildew growth on shaded, north-facing walls, and it gets brittle faster than most homeowners expect once winter cold snaps mix in with all that damp.
Homes in this area tend to sit on lots with a mix of open pasture and mature tree cover, which means some walls dry within an hour of a storm passing while others stay damp for days. That uneven drying is exactly the condition that speeds up moss colonization and traps moisture against a wall long enough to cause rot underneath a weaker siding material. Fiber cement, installed correctly with the right water management behind it, is built to sit wet and dry out without breaking down — which is the whole point in a climate like this one.
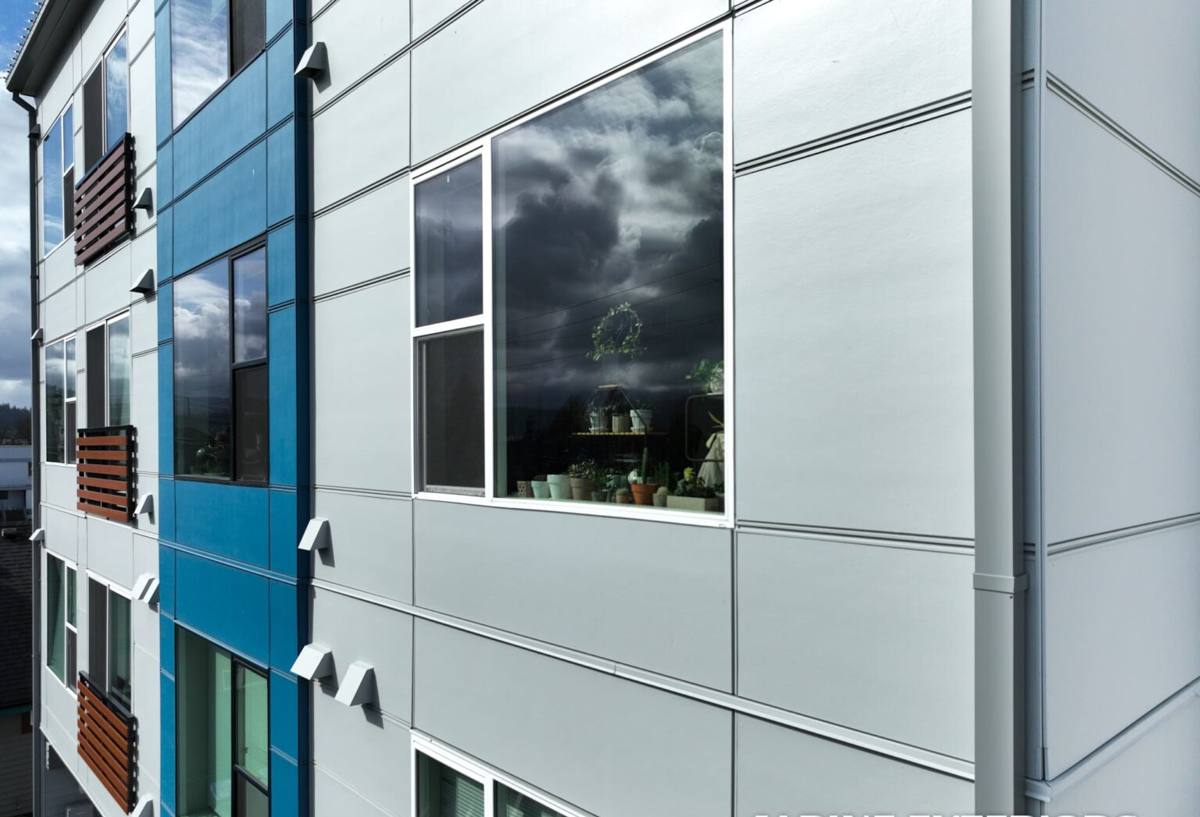
What "Correct" Fiber Cement Siding Installation Actually Involves
Fiber cement is only as good as the installation behind it. The material itself resists moisture, fire, and pests, but a sloppy install can undermine all of that — and in a climate with this much sustained rain, small mistakes show up fast.
Water Management Comes First
Before a single piece of siding goes up, the wall needs a properly lapped weather-resistive barrier, correctly flashed windows and doors, and rainscreen or drainage detailing where the wall assembly calls for it. Water has to have a path to get out from behind the siding, not just a barrier to keep it from getting in. This is the step that gets rushed on budget jobs, and it's the one that decides whether a wall stays dry for thirty years or starts rotting from the inside in five.
Fastening and Clearances
James Hardie siding has specific fastener spacing, nailing patterns, and clearance requirements — gaps at grade, at roof lines, and at trim — that exist specifically to let the material expand, contract, and shed water the way it's engineered to. Skipping clearances or face-nailing where blind-nailing is called for voids warranty coverage and creates the exact moisture traps this climate is hardest on.
Cut Edges and Finish Protection
Every field cut exposes raw fiber cement that needs to be sealed before it goes on the wall. Left unsealed, cut edges are the first place moisture gets in and the first place staining or swelling shows up — usually around windows, corners, and utility penetrations, which is where most of the cutting happens on any given house.
Why We Install Only James Hardie Fiber Cement
We don't install LP SmartSide, vinyl, primed wood, or other fiber cement brands. That's a standard we hold to on every job, including the ones we do in Aldergrove. James Hardie's HZ5 product line is engineered specifically for climates that mix hard freezes with heavy, sustained moisture, which describes this region well. The ColorPlus factory finish is baked on under controlled conditions, so it holds color and resists the fading and peeling that field-applied paint struggles with here, especially on walls that stay damp for days at a stretch. It's non-combustible, it doesn't feed moss and algae growth the way wood fiber products can, and the warranty is transferable if the home sells. We'd rather install one product correctly and stand behind it than offer five options and hope one works out for you.
Color and Panel Choices That Hold Up to This Light and Weather
Color and profile choice isn't just a style decision here — it affects how a wall performs. South and west-facing elevations in this valley get real sun in the summer months even with all the winter cloud cover, and darker ColorPlus finishes will run hotter and show more UV stress on those exposures over time. North-facing and heavily shaded walls run the opposite risk: lighter colors show moss, mildew, and dark streaking faster because those walls simply don't get enough direct sun to dry out and self-clean the way a south wall does. We talk through which elevations get which exposure before finalizing color, not just which color looks best on a sample board.
Panel profile matters too. Wider lap reveals shed water differently than narrower profiles, and homes with heavy tree cover or tight side-yard setbacks — common on lots around here — sometimes do better with a profile that sheds water faster rather than one chosen purely for looks. None of this is complicated, but it's the kind of detail that gets skipped when a contractor is selling a product instead of matching a product to the house in front of them.
Our Process for Aldergrove, BC Siding Projects
The steps don't change much from house to house, but the sequencing and timing do — especially on a job that involves coordinating across the border.
- Walk-around and moisture assessment. We look at every elevation, check for soft spots, moss buildup, and existing water damage, and pay particular attention to shaded walls and anywhere trim meets siding.
- Product and color selection. We walk through the HZ5 lineup and ColorPlus options and talk through what holds up best on your home's specific exposures.
- Scope and scheduling. We build the project around realistic weather windows — this isn't a climate where you want tear-off happening the day before a multi-day rain system moves through.
- Tear-off and wall prep. Old siding comes off, the sheathing gets inspected for hidden damage, and the water-resistive barrier and flashing get installed or repaired before anything new goes up.
- Installation to spec. Correct fastening, clearances, and sealed cuts, on every elevation — not just the ones visible from the street.
- Final walkthrough. We go over the finished work with you before calling the job done.
Signs Your Aldergrove Home's Siding Needs Attention
Most siding failures in this area give warning signs well before they turn into structural repairs. Worth checking for:
- Soft or spongy spots when you press on the siding, especially near the bottom courses
- Persistent moss or dark streaking that comes back within weeks of cleaning
- Paint that's peeling, bubbling, or chalking heavily on one or two elevations but not others
- Visible gaps or separation at seams, corners, or trim boards
- Warping, cupping, or boards that no longer sit flat against the wall
- Rising energy bills that track with drafts near exterior walls
Any one of these on its own isn't necessarily an emergency, but they're worth having looked at before the next wet season sets in.
What Drives the Cost of a Fiber Cement Siding Project
Every home is different, so we don't quote pricing without seeing the house, but the factors that move a project up or down in cost are consistent from job to job:
| Factor | Why It Matters |
|---|---|
| Home size and wall area | More square footage means more material and labor hours |
| Existing siding removal | Tear-off of old wood, vinyl, or aluminum adds time and disposal cost |
| Sheathing and framing condition | Hidden rot found during tear-off has to be repaired before new siding goes on |
| Home shape and trim detail | Dormers, bay windows, and multiple roof lines mean more cuts and flashing work |
| Accessibility | Steep grades, tight lot lines, or multi-story walls affect equipment and labor time |
| Siding profile and finish | Lap width, shingle-style panels, and specialty ColorPlus finishes vary in material cost |
Why a Crew That Already Works Aldergrove, BC Matters
Siding work here isn't quite the same as a job ten miles south. Scheduling around the border crossing, timing material delivery to actual work days instead of leaving it sitting exposed to rain, and knowing which walls on which lots stay damp longest because of tree cover and orientation — that's all local knowledge that only comes from doing the work here repeatedly. A crew that's worked this stretch of the valley before knows what a north wall under mature trees is going to do differently than a south-facing wall in open pasture, and plans the job accordingly instead of treating every house the same. It also means fewer surprises with permitting and inspection timing, since we're not learning the local process on your project.
Maintenance After Installation
One of the practical advantages of ColorPlus-finished fiber cement in this climate is how little upkeep it asks for. An annual rinse-down to keep moss and pollen from building up, a periodic check of caulking at trim and penetrations, and keeping gutters clear so water isn't sheeting down the wall face — that covers most of it. Unlike field-painted wood siding, you're not looking at repainting on a five-to-seven-year cycle just to keep ahead of this region's moss and rain.
Choosing a Siding Contractor: What to Check Before You Sign
- Ask specifically what siding brand and product line they install, and why
- Confirm they carry manufacturer certification for the product, not just general contracting experience
- Ask how they handle water-resistive barrier and flashing detail, not just the visible siding
- Get the fastening and clearance spec in writing, not just a verbal assurance
- Ask about their experience with homes in your specific area and exposure conditions
- Check that warranty coverage is explained clearly, including what's transferable if you sell
If your Aldergrove, BC home's siding is showing its age — or you're planning ahead before the next wet season — we're happy to come take a look. A free, no-pressure estimate gets you a clear picture of your home's specific needs and what correct James Hardie installation would look like on your walls, no obligation attached.