 Lynden Exterior
 Siding Repair Built for the Wet Side of the Border
Aldergrove sits close enough to Lynden that a lot of homeowners here already know us by reputation, and close enough to the water and the mountains that the siding on these homes takes a real beating. Driving rain off the Pacific system, long stretches of overcast humidity, and a moss season that can run most of the year all work against whatever is nailed to the outside of a house. Siding repair in this area isn't a cosmetic job. Done right, it's what keeps water out of the wall assembly and keeps a small problem from becoming a rot problem.
This page is about one thing: repairing existing siding on Aldergrove homes correctly, with an honest read on when a patch makes sense and when it doesn't.
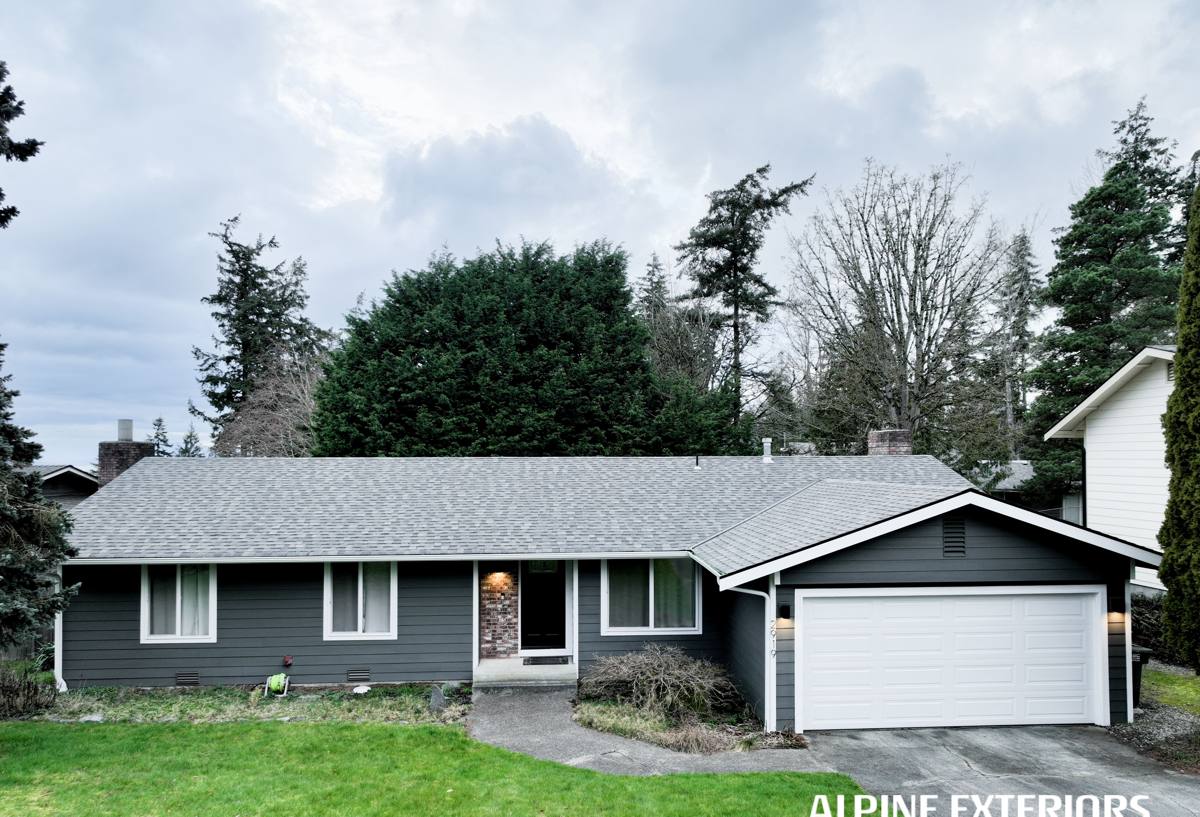
What the Local Climate Does to Siding Over Time
Driving Rain and Wind-Driven Moisture
Storms moving through this corridor rarely fall straight down. Wind pushes rain sideways into wall faces, corners, and anywhere siding meets a window, door, or roofline. Any gap, open seam, or failed caulk joint becomes an entry point. Over months and years, that moisture works its way behind the cladding rather than running off the face of it, which is where most of the damage we get called out for actually starts.
Moss, Algae, and the Shade Problem
Between tree cover, fence lines, and north-facing walls that rarely see direct sun, moss and algae get a long runway to establish themselves. Beyond the green staining, moss holds moisture against the siding surface far longer than an open, sun-exposed wall would. That constant dampness is exactly what accelerates rot in wood-based products and breaks down caulking and sealants faster than manufacturers rate for.
Salt-Laden Air Moving Inland
Even set back from open water, this part of Whatcom and Fraser Valley country gets marine air moving through on a regular basis. Salt-tinged moisture accelerates corrosion on fasteners, flashing, and trim hardware, and it speeds up the breakdown of finishes that aren't built to handle it. Siding that looks fine from the driveway can have fastener corrosion or finish failure starting underneath.
The Most Common Repair Calls We See in This Area
Wood and Engineered Wood Siding Failures
Solid wood and older engineered wood products are the most climate-sensitive siding types we deal with here. Once water gets past a compromised paint or sealant layer, the substrate itself starts absorbing moisture, swelling, and eventually softening. By the time you can see paint bubbling, cupping boards, or a soft spot under a thumb press, the damage usually extends further than the visible area.
Vinyl Siding Cracking and Warping
Vinyl becomes brittle with age and temperature swings, and panels that were installed too tight (without room to expand and contract) crack at fastener points or buckle along their length. Impact damage — a ladder, a dropped branch, a errant baseball — is also a routine call. Matching older vinyl color and profile gets harder every year as manufacturers update their lines.
Trim, Flashing, and Transition Failures
A huge share of "siding" problems aren't actually siding at all — they're the transitions: window and door trim, kick-out flashing, the joint where siding meets a deck ledger or roofline. These details take the brunt of driving rain, and when they fail, water tracks behind good siding and rots the sheathing or framing before it ever shows on the surface.
What a Correct Siding Repair Actually Involves
A repair that just covers the visible spot is a repair you'll pay for twice. A correct process looks like this:
- Remove enough surrounding material to see the actual extent of water intrusion or damage — not just the visible symptom
- Check the water-resistive barrier and flashing behind the siding, and repair or replace it if it's compromised
- Address the rot, corrosion, or moisture source itself, not just the siding on top of it
- Match new material to existing siding in profile, reveal, and finish as closely as the product allows
- Re-flash and re-seal all penetrations and transitions correctly, with materials rated for this climate
- Confirm drainage and airflow paths are restored so water sheds the way the wall assembly was designed to handle it
Skipping any one of these steps is how a $400 patch becomes a $4,000 wall repair two years later.
Our Repair Process, Start to Finish
We keep this straightforward because homeowners deserve to know what's actually happening to their house:
- Assessment: We inspect the damaged area and the surrounding siding, probe for soft spots, and check trim, flashing, and caulking nearby — problems rarely travel alone.
- Honest scope: We tell you plainly whether this is a spot repair, a section replacement, or a sign the whole elevation needs attention. No upselling, no downplaying.
- Removal: We pull back only what needs to come off, checking sheathing and framing underneath for hidden moisture damage.
- Repair the cause: Any compromised barrier, flashing, or framing gets addressed before anything new goes back on.
- Reinstall: New material goes in matched as closely as possible, fastened and sealed to hold up against wind-driven rain.
- Walkthrough: We show you what we found and what we did, so you're not guessing about the condition of your own walls.
Repair or Replace? Weighing the Real Factors
Not every damaged section needs a full re-side, and not every "small" spot is actually small once you open it up. Here's how we help homeowners think through it:
| Factor | Leans Toward Repair | Leans Toward Replacement |
|---|---|---|
| Extent of damage | Isolated to one or two panels/boards | Recurring across multiple elevations |
| Underlying wall condition | Sheathing and framing are dry and sound | Rot or moisture found in the wall assembly |
| Siding age | Siding is mid-life, otherwise performing well | Siding is near or past its expected service life |
| Material match | Close match available for a clean patch | Product discontinued or badly weathered elsewhere |
| Root cause | A one-time impact or isolated failure | A systemic issue (grading, ventilation, product defect) |
When the honest answer is repair, we repair. When it isn't, we say so before any work starts, not after you've paid for a patch that won't hold.
Why We Only Use James Hardie Fiber Cement for Replacement Sections
When a repair calls for replacing a section rather than patching it, what goes back on the wall matters as much as the workmanship. We install James Hardie fiber cement exclusively — we don't carry vinyl, LP SmartSide, Cemplank, Allura, primed spruce, or cedar as repair materials, even for a small section. That's a deliberate standard, not a limitation we work around.
Fiber cement doesn't absorb water the way wood-based products do, and it isn't vulnerable to the brittleness and expansion issues that show up in vinyl over time in this climate. Hardie's ColorPlus factory finish holds color and resists the moss, mildew, and moisture staining that this area's shaded, damp conditions produce faster than a field-applied paint job typically can. It's also non-combustible, which matters regardless of siding type. For a repair specifically, that consistency means a patched section performs the same way as the rest of the wall for the long haul, instead of becoming the one spot that fails again first.
We understand that means we sometimes recommend blending in a Hardie section next to an older, different product rather than chasing an exact match. We'll always explain that trade-off honestly and let you decide.
Why a Crew That Already Works This Area Matters
Aldergrove homes see the same weather pattern we deal with daily just a few minutes south in Lynden — the same driving rain, the same moss pressure, the same marine-influenced humidity. A crew that's used to working this specific climate spots the early warning signs faster: the discoloration pattern that means moisture, not just dirt; the caulking that's failed structurally versus one that's just aged cosmetically. Municipal permitting, inspection requirements, and building code can differ from one jurisdiction to the next, so we always confirm what applies to your specific property before scoping a repair rather than assuming one set of rules covers every home we touch.
Familiarity also means fewer surprises with scheduling and material logistics — we're not learning the region on your project.
Between-Repair Maintenance Checklist
A few minutes twice a year catches most problems while they're still cheap to fix:
- Walk the full exterior and look for soft spots, bubbling paint, or dark staining, especially on shaded and north-facing walls
- Check caulking at window and door trim, corners, and any siding penetration for cracking or gaps
- Clear moss and debris from siding, especially where tree cover or fences block sun and airflow
- Confirm gutters and downspouts are directing water away from the wall, not dumping it against the base of the siding
- Look at flashing above windows, doors, and any roof-to-wall transitions for rust, gaps, or separation
- Address small issues right away — a failed caulk joint is a five-minute fix; the rot it causes six months later is not
If you're seeing staining, soft spots, or failing caulk on your Aldergrove home, we're glad to take a look and give you a straight answer about what it needs. Request a free, no-pressure estimate using the form below.