 Lynden Exterior
 Building New in Custer? Your Windows Are Doing More Work Than You Think
If you're framing a new home in Custer, the windows aren't just an opening you fill in near the end of the job — they're one of the few components that has to perform correctly for the next 30-plus years without anyone touching it again. Get the flashing sequence wrong, use the wrong sill pan, or install with the wrong shims, and you won't see the problem for a year or two. By then it's hidden behind siding and drywall, and it's a much bigger fix than it would have been during framing.
Custer sits close enough to the water that new construction here deals with a different load than a home fifteen miles inland. Salt-laden air off the Strait moves through on a regular basis, driving rain comes in sideways more often than most homeowners expect, and the wet season stretches long enough that moss and algae get a real foothold on anything that stays damp. New-construction windows have to be selected and installed with all three of those in mind, not just installed to code minimums.
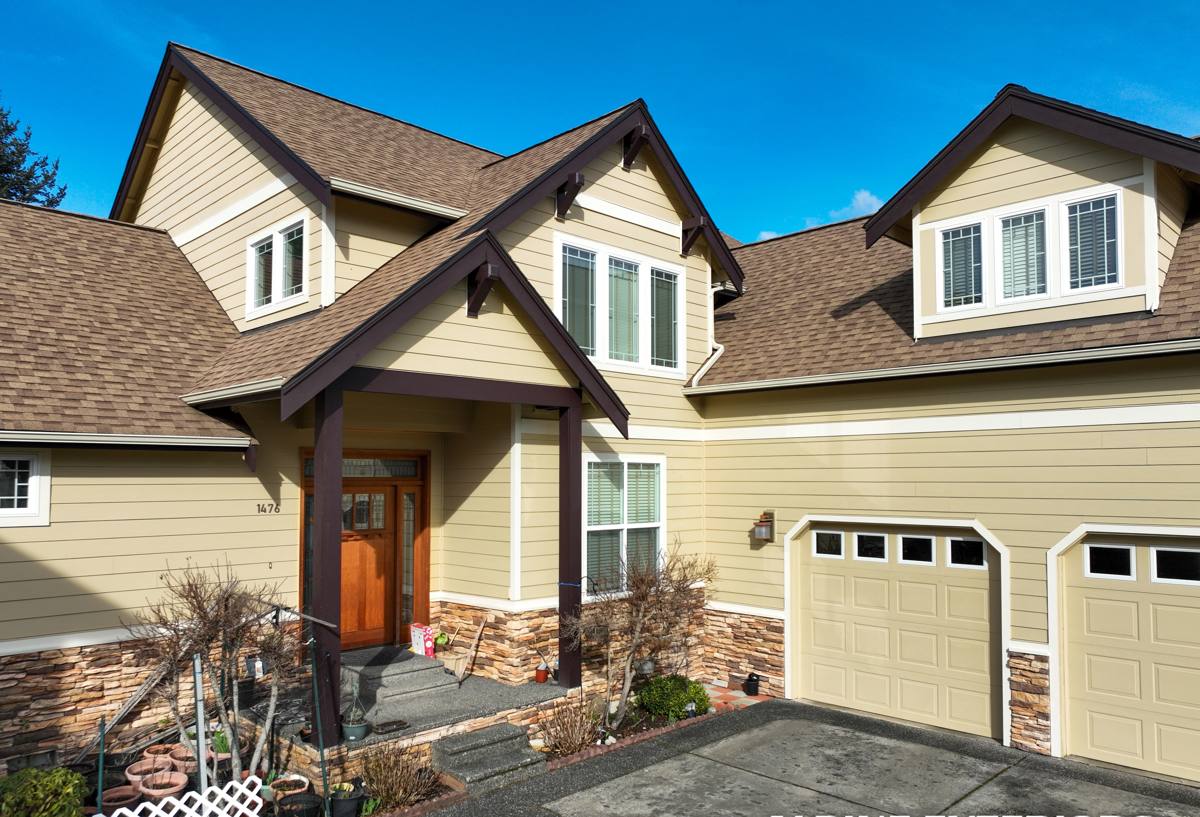
What Custer's Climate Actually Does to a Window Opening
Salt Air
Salt air accelerates corrosion on exposed fasteners, hinges, and hardware, and it's harder on certain aluminum and lower-grade vinyl components than manufacturers' standard warranty testing accounts for. It doesn't ruin a window overnight — it just shortens the life of anything not rated or finished for coastal exposure, which matters a lot on a house you're building to last decades.
Driving Rain
Wind-driven rain doesn't just hit a window — it gets pushed sideways and upward under the sill and around the frame edges. A window that's watertight in a still-air rain test can still leak on a Custer property if the sill pan, flashing, and sealant weren't detailed for wind-driven conditions during rough-in. This is the single most common source of new-construction window failures we get called out to diagnose, and it's almost always an installation issue, not a product issue.
Long Moss Season
Whatcom County's wet stretch runs long, and anything that holds moisture — a poorly sloped sill, a clogged weep hole, a shaded north-facing frame — becomes a place for moss, algae, and mildew to establish. On new construction, this is preventable with correct sill slope and weep hole placement at install; it's much harder to fix after the fact without pulling trim.
What a Correct New-Construction Window Install Actually Involves
"New construction" windows (as opposed to retrofit or pocket replacements) have a nailing fin and get installed into a bare rough opening before siding goes on. That gives us full access to the sheathing, house wrap, and framing — which is the whole advantage of doing it right the first time. The sequence matters as much as the window itself:
- Rough opening checked for square, level, and correct dimension before the window ever goes in
- Sloped sill pan installed so any water that gets past the window drains back outside, not into the wall cavity
- Self-adhered flashing membrane at the sill and jambs, integrated with the house wrap in the correct shingle-lap order (bottom to top, so water always sheds outward and down)
- Window set, shimmed plumb and square at the hardware points — not just at the corners — so the sash operates correctly for years, not just on install day
- Nailing fin fastened per manufacturer spec, head flashing installed last, lapping over the side flashing
- Low-expansion, window-rated foam or backer rod and sealant at the interior gap — never standard spray foam, which can bow frames out of square
- Weep holes and drainage paths confirmed clear before trim goes on
Skip or rush any one of these steps and the window can still look fine and pass a casual inspection — the failure just shows up later, usually as staining, soft trim, or a musty smell near the opening.
New-Construction Fin Windows vs. Retrofit/Pocket Windows
Since Custer has a mix of new builds and remodels nearby, it's worth being clear on why these aren't interchangeable, and why the wrong choice on a new build creates problems later.
| Factor | New-Construction (Nail Fin) | Retrofit / Pocket |
|---|---|---|
| Best used for | New builds, full-tear-out remodels with sheathing exposed | Replacing existing windows without disturbing siding/trim |
| Access to sheathing & flashing | Full access — flashing integrates directly with house wrap | Limited — relies on the existing frame and flashing being sound |
| Water management | Built from the sheathing out; most durable long-term | Depends heavily on condition of what's already there |
| Where it goes wrong | Rare, if flashing sequence is followed | Can trap moisture if old flashing was already compromised |
| Right call for a new Custer build | Yes — this is the correct method | Not applicable on new construction |
On a new build, there's no reason to use anything but a properly flashed nail-fin window — you have full access to do it right, and there's no old flashing or old rot to work around.
Choosing Frame Material and Glass for This Exposure
There's no single "best" window for every Custer property, but there are trade-offs worth understanding before you lock in a spec with your builder.
Vinyl
Good value and low maintenance, but quality varies a lot between manufacturers. For coastal exposure, we favor heavier-gauge frames with fusion-welded corners and UV-stable formulations — thinner, budget-tier vinyl can warp or discolor faster under sun and salt exposure over time.
Fiberglass
More dimensionally stable than vinyl across temperature swings and holds up well to the moisture cycling common here. It costs more up front, which is the main trade-off, but it's a strong fit for a coastal new build meant to last.
Wood and Clad-Wood
Wood interiors look great, but a wood exterior in a salt-air, high-moisture climate is a real maintenance commitment — repainting, sealing, and watching for rot at joints. Clad-wood (wood interior, aluminum or vinyl exterior cladding) gets you the look with far less exterior upkeep, and it's what we recommend when a homeowner wants a wood interior on a Custer build.
Glass Package
Double-pane, low-E glass with argon fill is the practical baseline for this climate — it manages both the wet, cool winters and the condensation risk that comes with our humidity swings. Triple-pane adds cost and weight and is worth discussing case by case, mainly for north-facing or particularly exposed elevations.
Our Process on a Custer New-Construction Job
- Rough-in walkthrough — we check openings against the window schedule before anything ships, catching sizing or framing issues while they're still cheap to fix
- Flashing and sill pan install — done before the window is set, integrated with the house wrap
- Window set and shimmed — checked plumb, level, and square, with hardware tested on the spot
- Fin fastening and head flashing — installed in the correct lap order
- Interior seal — low-expansion foam and backer rod, never standard spray foam against the frame
- Final walk-through — every operable sash and lock tested, weep paths confirmed clear, before siding crews close it in
That last step matters more than it sounds like — once siding goes on, a flashing mistake is a tear-out to fix. We'd rather catch it on our own punch list than have you discover it during a rainstorm two winters from now.
Why It Matters to Hire a Crew That Already Works Custer
A window that's correctly installed in a dry, inland climate can still be installed "correctly" and underperform on a coastal Whatcom County lot if the crew hasn't accounted for wind-driven rain and salt exposure specifically. That's not about the window brand — it's about flashing detail, sealant choice, and hardware spec being matched to the actual conditions the house will sit in. A crew that regularly works new construction around Lynden and the coastal stretch toward Custer has already seen where generic installation practices fall short here, and builds the flashing and drainage details around that from day one instead of learning it the hard way on your house.
Mistakes We Commonly Catch on New Builds
- Sill pans skipped or installed flat instead of sloped to drain
- Flashing lapped in the wrong order, directing water into the wall instead of out
- Standard high-expansion foam used around the frame, bowing it out of square
- Weep holes taped over or blocked by trim before anyone checks them
- Fasteners or hardware not rated for coastal exposure, leading to early corrosion
- Rough openings sized off the framer's estimate instead of the actual window schedule
None of these are expensive to avoid at install time. All of them are expensive to fix after the siding and interior finish are in.
After Move-In: What to Expect
A correctly installed new-construction window in this climate shouldn't need much. Rinse frames and glass occasionally to keep salt residue from building up, keep weep holes clear of debris and moss during the wet months, and check that exterior caulking around trim stays intact year to year. That's about it — the heavier work of managing water and drainage should already be built into the install, not something you're maintaining after the fact.
If you're framing or planning a new build in Custer and want windows specified and installed correctly the first time, we're happy to walk the plans or the rough openings with you. Use the form below to request a free, no-pressure estimate.