 Lynden Exterior
 Building New in Everson? Windows Are Not a Detail to Rush
If you're framing a new home or addition in Everson, the window install is one of the few steps in the build where a mistake doesn't show up right away. A window set slightly out of plane, a missed flashing lap, or a nailing fin fastened before the weather-resistive barrier is properly lapped won't leak on day one. It leaks in year three, usually into a wall cavity you can't see until the sheetrock is already stained or the sill has gone soft. In a builder's schedule, windows often get treated as a fast trade — set them, move on to siding. We treat new-construction window installation as its own discipline, because in this part of Whatcom County, the install sequence matters as much as the window itself.
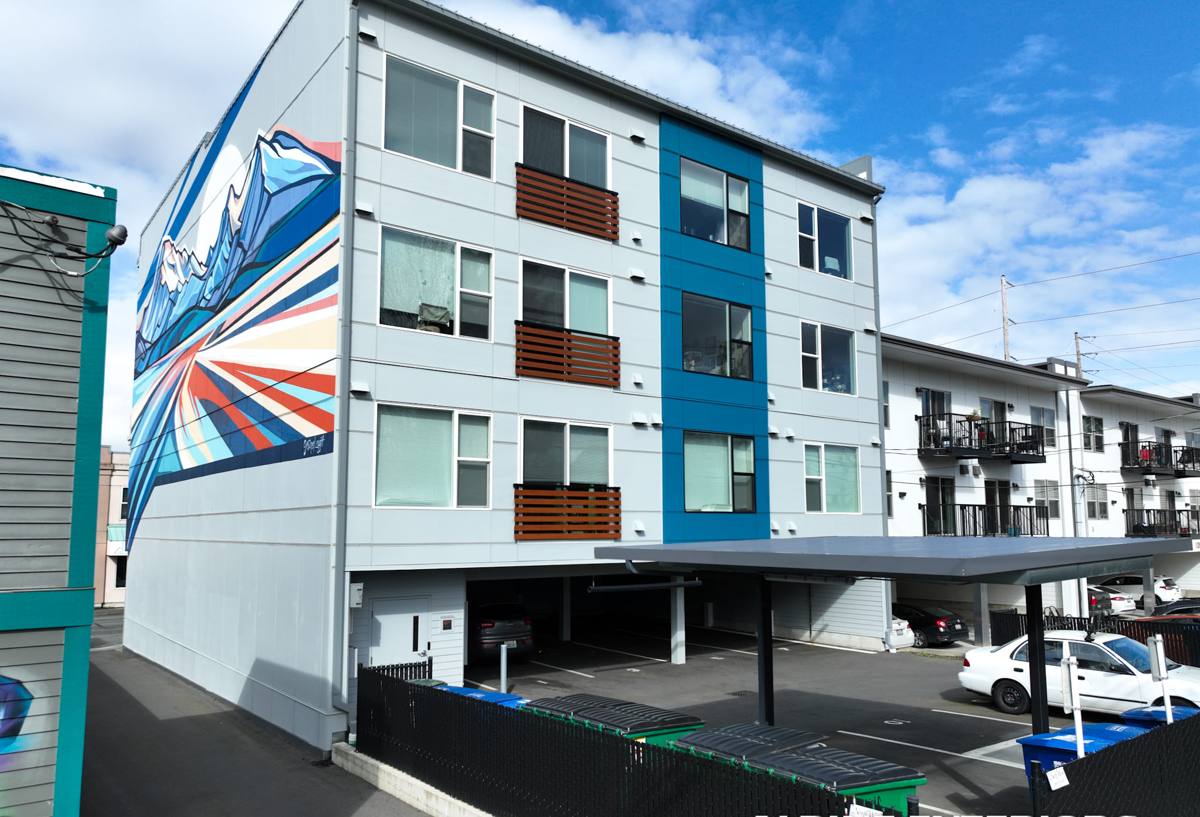
What Whatcom County Weather Asks of a New Window Install
Everson sits in a stretch of Whatcom County that gets the full mix of what makes Pacific Northwest lowland weather hard on a building envelope: long stretches of low-intensity rain, occasional wind-driven storms that push water sideways instead of straight down, salt-tinged air moving in off Puget Sound, and a wet season that runs long enough to grow moss on anything that stays damp. None of that is exotic, but it does mean a window opening has to be built to shed water outward and downward under real pressure, not just sit there looking sealed.
Wind-Driven Rain and Flashing Sequence
Most window leaks in new construction trace back to flashing sequence, not the window unit itself. Water has to be directed out at every layer — sill pan, side flashing, head flashing, and the housewrap — so that even if water gets behind the cladding, it's shed back out before it reaches framing. When wind pushes rain sideways during a fall or winter storm, a sloppy lap or a flashing tape run in the wrong order is exactly the kind of detail that turns into a hidden leak.
Salt Air, Long Moss Season, and Material Choices
Being inland from the immediate coastline doesn't fully protect a home from salt-laden air moving through the county, and it shows up as accelerated corrosion on the wrong fasteners or hardware over time. Combine that with a moss season that can run half the year on north-facing or shaded walls, and you get two slow, compounding stresses: metal that corrodes faster than it should, and organic growth that holds moisture against trim and sill areas longer than a drier climate would allow. New-construction windows need fasteners, flashing metal, and trim details chosen with that in mind, not just whatever ships in the box.
New-Construction Installation vs. a Replacement Retrofit
These are two different jobs with two different goals, and conflating them is where a lot of new-build window trouble starts. A replacement window is set into an existing, already-clad opening and sealed from the interior and exterior face. A new-construction window is installed before the siding goes on, using a nailing fin that gets integrated directly into the wall's water-management layers. Everson new builds should always use the new-construction method — it's the only approach that lets us build the flashing and drainage plane correctly from the framing outward.
| Factor | New-Construction Install | Replacement Install |
|---|---|---|
| Timing in the build | Before siding/cladding, into open framing | After the home is finished, into existing opening |
| Water management | Integrated with sill pan, WRB, and flashing tape | Relies on sealant and existing wall flashing |
| Fastening | Nailing fin fastened directly to sheathing | Frame secured through existing jamb or with clips |
| Best use case | New homes, additions, full wall rebuilds | Swapping failing windows in an already-clad wall |
| Long-term performance | Strongest, most durable water seal when done right | Good, but limited by what the existing opening allows |
What a Correct New-Construction Window Install Actually Involves
There's a specific order of operations that makes a new-construction window install watertight, and skipping or reordering any step is how future leaks get built into a brand-new home.
- Rough opening check. Confirm the opening is square, plumb, and sized correctly before anything else happens — a window forced into an out-of-square opening will never seal evenly.
- Sill pan installation. A sloped, sealed sill pan gives any water that gets past the window a way out instead of a place to pool.
- Weather-resistive barrier lapping. The WRB gets cut and integrated so that upper layers always overlap lower layers — water has to be able to run down and out, never trapped behind a reverse lap.
- Flashing tape at jambs and head. Side flashing goes on before the window; head flashing goes on after, so the whole assembly sheds water like shingles, top layer over bottom.
- Setting and shimming the unit. The window is shimmed level, plumb, and square in the opening — not just nailed in wherever it sits.
- Fastening the nailing fin. Fasteners go in per the manufacturer's pattern and spacing, using corrosion-resistant hardware suited to this climate.
- Interior air sealing and insulation. The gap between frame and rough opening gets sealed and insulated from the inside, not just foamed and forgotten.
- Exterior trim and cladding tie-in. Trim and cladding are integrated into the same drainage plane so the whole wall assembly works together, not against itself.
Frame Material and Glass Package Choices for This Climate
New construction is the best possible time to pick the right frame material and glass package, because you're not constrained by an existing opening. For a Whatcom County build, the trade-offs come down to maintenance tolerance, moisture behavior, and how the frame will hold up to years of damp shoulder seasons.
| Frame Material | Strengths | Trade-Offs Here |
|---|---|---|
| Vinyl | Low maintenance, good value, doesn't corrode | Frame color/finish can fade over many years of UV exposure |
| Fiberglass | Very stable in temperature swings, strong, low expansion | Higher upfront cost than vinyl |
| Wood-clad | Traditional look, warm interior wood face | Exterior cladding and joints need attention in a wet, moss-prone climate |
On glass, a double-pane unit with a low-E coating and an argon or similar gas fill is the practical standard for this region — it manages heat loss during our long wet, cool stretches without pushing cost into diminishing returns. We'll talk through frame and glass options based on your home's orientation, budget, and how much upkeep you actually want to take on down the road.
How We Work Alongside Your Builder or GC
On most new builds we're one trade in a longer sequence, not the only one on site. We coordinate window delivery and install timing with the framing and WRB schedule so windows go in at the right point — after the wall is properly wrapped, before siding closes everything up. We flag any rough opening issues to the builder before we set anything, rather than forcing a window into a bad opening and hoping caulk fixes it later. And we document the flashing and sealing sequence as we go, so there's a clear record of how the envelope was built if it's ever needed for a warranty question or an inspection.
Mistakes We Catch on New Builds
We get called in on new construction both as the original installer and, sometimes, to correct work that was rushed by another trade. The same handful of issues show up again and again:
- Housewrap lapped in the wrong direction around the rough opening, so water is funneled inward instead of out
- No sill pan, or a flat sill pan with no slope to drain water back out
- Flashing tape applied out of sequence — head flashing under the side flashing instead of over it
- Nailing fin fastened before the WRB integration is finished, trapping a bad lap in place
- Standard fasteners used where corrosion-resistant hardware should have been specified
- Gaps around the frame filled with the wrong sealant or left unsealed on the interior side
- Trim installed tight against the window with no room for the assembly to shed water properly
Any one of these can look fine on inspection day and still cause a leak once the home has been through a few real Whatcom County winters.
Why Work With a Crew That Already Knows Everson
Window installation code and manufacturer instructions are the baseline, but building for this specific climate means understanding how driving rain actually hits a wall here, how long moss season really runs, and which fastener and trim choices hold up instead of failing early to salt air and moisture. A crew that already works new-construction jobs in and around Everson and greater Whatcom County isn't guessing at any of that — it's routine. That familiarity is also what makes coordinating with your builder's schedule go smoothly instead of becoming a bottleneck on the job site.
If you're planning a new build or addition in Everson and want windows installed correctly the first time, reach out for a free, no-pressure estimate. We'll walk through your plans, talk through frame and glass options, and give you a straightforward answer on scope and timing — no obligation, just a clear look at what the job actually involves.