 Lynden Exterior
 Why Siding Repair Looks Different in Nooksack
Nooksack sits in the low, green farm country east of Lynden, in a part of Whatcom County that stays damp for most of the year. Homes here deal with a specific combination of stresses: marine air moving in off the Sound, driving rain that comes in sideways during fall and winter storms, and a moss season that can stretch from October well into spring. None of that is dramatic on its own, but stacked together year after year, it's exactly the kind of slow, steady exposure that finds every weak point in a home's exterior. Siding repair out here isn't just about patching what's visible — it's about understanding why that spot failed in the first place, because the climate that caused it hasn't gone anywhere.
We work on homes throughout the Lynden and Nooksack area regularly, and the pattern is consistent. Siding failures rarely start as siding failures. They start as a small gap, a failed caulk joint, or a spot where moss has been sitting against the wall long enough to hold moisture in place. By the time a homeowner notices soft board, peeling paint, or a stain bleeding through, the damage has usually been building for a season or two. Good repair work addresses both ends of that problem: the visible damage and the condition that caused it.
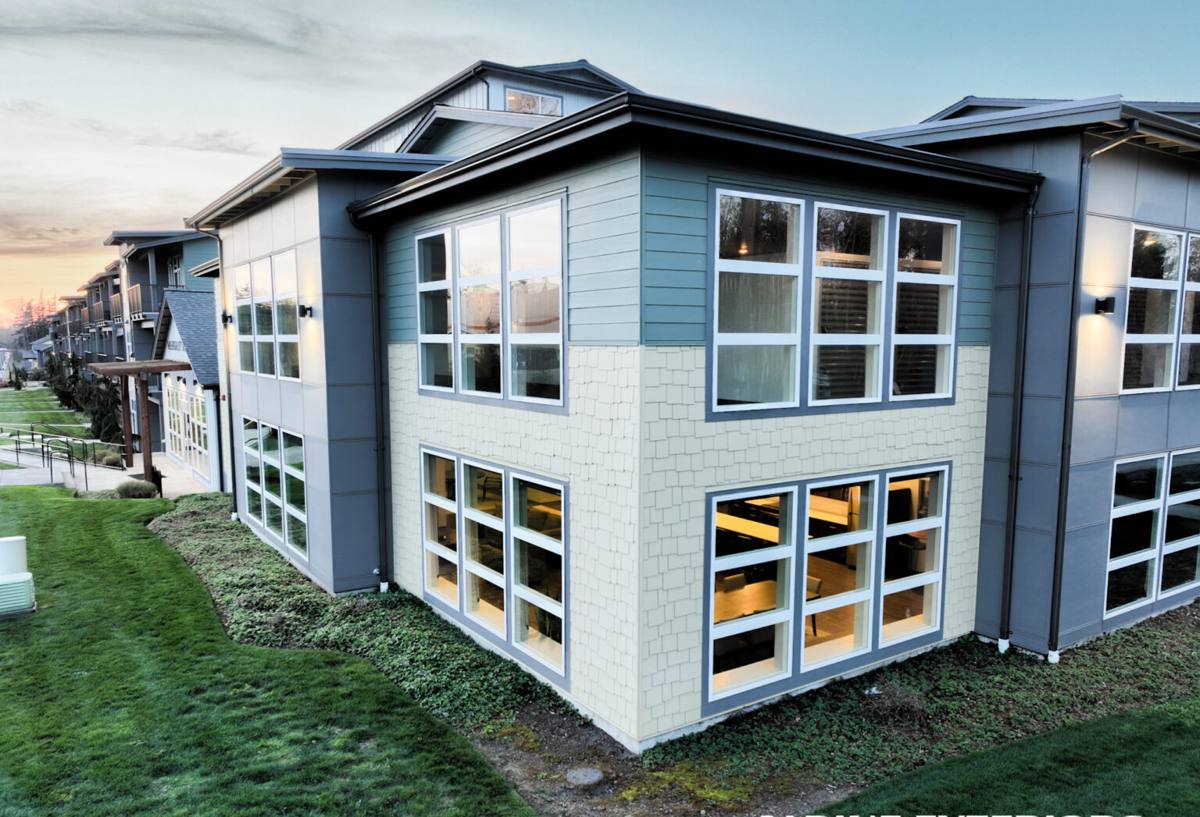
What the Local Climate Actually Does to Siding
Driving Rain and Wind-Driven Moisture
Whatcom County storms don't just fall straight down — wind pushes rain sideways into wall assemblies, especially on gable ends, around window trim, and at inside corners. Over time, this works moisture past caulking and flashing that was never designed to handle constant lateral pressure. Wood-based siding products are especially vulnerable here, since repeated wetting and drying cycles cause swelling, checking, and eventually rot at the most exposed elevations.
Salt Air and Metal Fasteners
Even well inland from the water, marine air carries enough salt content to accelerate corrosion on exposed fasteners, flashing, and trim hardware. Corroded nails and screws lose their grip over time, which is one of the quieter causes of loose or shifting siding panels that homeowners often mistake for a workmanship issue rather than a materials-and-climate issue.
The Long Moss Season
Shaded north- and east-facing walls, tree cover, and the persistent damp common to this part of the county all favor moss and algae growth on siding surfaces. Moss doesn't just look bad — it holds moisture directly against the siding surface for extended periods, which is a major driver of paint failure, substrate softening, and hidden rot behind the growth itself.
Signs Your Siding Needs Repair, Not Just Cleaning
Homeowners often try to pressure-wash or paint over a problem that's actually structural. Here's how to tell the difference:
- Soft or spongy spots when you press on the siding, especially near the bottom courses or below windows
- Paint that's bubbling, peeling, or flaking in a concentrated area rather than evenly across the wall
- Visible gaps at seams, corners, or trim joints where caulking has shrunk or pulled away
- Dark staining or streaking that reappears shortly after cleaning
- Moss or algae that keeps returning to the same section no matter how often it's cleaned
- Panels that flex, rattle in wind, or appear slightly bowed compared to the wall around them
- Interior clues — a musty smell, a damp patch on drywall, or peeling interior paint on an exterior wall
Any one of these can be minor. Several together, especially on the same wall, usually means moisture has been getting behind the siding for a while.
What a Correct Repair Job Actually Involves
Diagnosis Before Demolition
The first step isn't pulling boards — it's figuring out how water is getting in. That means checking flashing above windows and doors, inspecting the house wrap or weather barrier where accessible, and tracing staining or soft spots back to their actual source. Repairing the visible siding without correcting the entry point just buys a homeowner a year or two before the same spot fails again.
Matching Material and Finish
A visually clean repair means matching not just the siding profile, but the reveal, texture, and finish of the surrounding material. This is one of the biggest reasons we standardized on James Hardie: factory-applied ColorPlus finish is manufactured to consistent color and sheen standards, which makes matching a repaired section to existing siding far more predictable than trying to color-match a field-painted product years after original installation.
Addressing the Underlying Substrate
If sheathing or framing behind the siding has taken on moisture, that has to be dried out or replaced before new siding goes back on. Closing up a wall over wet substrate is one of the most common ways a "repair" turns into a much bigger problem eighteen months later.
Why We Repair (and Replace) with James Hardie, Not Other Materials
We install James Hardie fiber cement exclusively — we don't install vinyl, LP SmartSide, cedar, primed spruce, or other fiber cement brands. For repair work specifically, that standard matters for a few practical reasons:
- Non-combustible material that doesn't absorb and hold water the way engineered wood products can, which matters directly in a climate defined by constant dampness
- Climate-engineered HZ product lines built for wet, temperate regions like ours, rather than a one-size-fits-all formulation
- Factory-cured ColorPlus finish that resists the fading and peeling that field-applied paint is prone to, making future touch-ups and repairs easier to blend
- A strong transferable warranty when installed to manufacturer spec, which protects the homeowner's investment even in a repair scenario
We're honest that other products have real strengths — vinyl is inexpensive and low-maintenance in mild conditions, cedar has genuine natural appeal, and engineered wood installs quickly. But in a climate that delivers driving rain, salt-laden air, and moss for most of the year, we've seen enough of what those trade-offs look like a decade in that we no longer install anything but fiber cement.
Repair vs. Full Section Replacement: How We Decide
| Factor | Points Toward Repair | Points Toward Replacement |
|---|---|---|
| Extent of damage | Isolated to one or two boards/panels | Spread across a wall or multiple elevations |
| Underlying substrate | Dry, sound sheathing behind the siding | Soft, wet, or rotted sheathing found |
| Age of existing siding | Newer siding still under warranty coverage | Siding near or past its expected service life |
| Cause of failure | One identifiable issue (flashing, caulk, impact damage) | Systemic issue affecting the whole installation |
| Cost over time | Lower upfront cost, targeted fix | Higher upfront cost, resets the maintenance clock |
There's no universal answer here — it depends on what we find once we open up the affected area. We'll walk you through the reasoning either way rather than defaulting to the more expensive option.
Our Repair Process
- On-site assessment. We inspect the affected area and the surrounding wall, checking flashing, trim, and accessible substrate condition.
- Honest diagnosis. We explain what caused the damage, not just what it looks like, and what happens if the underlying cause isn't addressed.
- Clear scope and pricing. You get a written explanation of what needs to happen — repair or replacement — before any work starts.
- Correct removal. Damaged material comes out carefully to avoid unnecessary disruption to sound siding nearby.
- Substrate correction. Any wet or compromised sheathing, house wrap, or flashing is corrected before new siding goes on.
- Installation to spec. New Hardie material is installed following manufacturer fastening, clearance, and caulking requirements — the details that determine whether a repair lasts.
- Finish and cleanup. We match trim and finish as closely as possible and leave the site clean.
Why Hiring a Crew That Already Works in Nooksack Matters
A contractor who works regularly in Lynden and the surrounding Whatcom County communities has already seen how local conditions play out on real homes — which elevations take the worst weather, how moss behaves on shaded walls through a wet winter, and what flashing details tend to fail first in this specific climate. That's different from general siding experience. It means fewer surprises during the repair, a more accurate first diagnosis, and a better sense of when a small fix is genuinely enough versus when it's covering up a bigger issue that will resurface with the next storm season.
It also means accountability. A crew that's planning to keep working in this area has every incentive to do the repair right the first time, because a callback isn't a stranger's problem — it's a neighbor's.
Keeping Repaired Siding in Good Shape Afterward
A correct repair should hold up, but a little seasonal attention goes a long way in this climate:
- Rinse moss and algae off siding gently before it builds up thick enough to trap moisture
- Trim back vegetation and tree limbs that keep a wall shaded and damp
- Check caulking at trim joints and penetrations once a year, ideally before the fall rains set in
- Keep gutters clear so overflow doesn't run down the siding face repeatedly
- Watch previously repaired areas for a season or two to confirm the fix is holding
If you're seeing soft spots, recurring moss, peeling paint, or gaps in your siding anywhere in the Nooksack or Lynden area, we're glad to take a look. We offer free, no-pressure estimates — use the form below to get one scheduled.