 Lynden Exterior
 New Construction Is a Different Job Than Replacement
Installing windows in a home under construction is not the same trade as swapping out an old window in a finished wall. On a new build, the window goes in before siding, before interior trim, and often before the weather-resistive barrier is fully lapped and taped. That means the window installer isn't just setting a unit into an opening — we're building the water management system for that opening from the sheathing out. Get that sequence wrong and the mistake gets buried behind siding for the next twenty years.
For homes going up in and around Nooksack, we work directly off the rough framing and the builder's schedule rather than retrofitting around existing trim and siding. That gives us more control over the finished result, but it also means there's no room for shortcuts — there's no old caulk line or existing trim to hide behind if the flashing sequence isn't right.
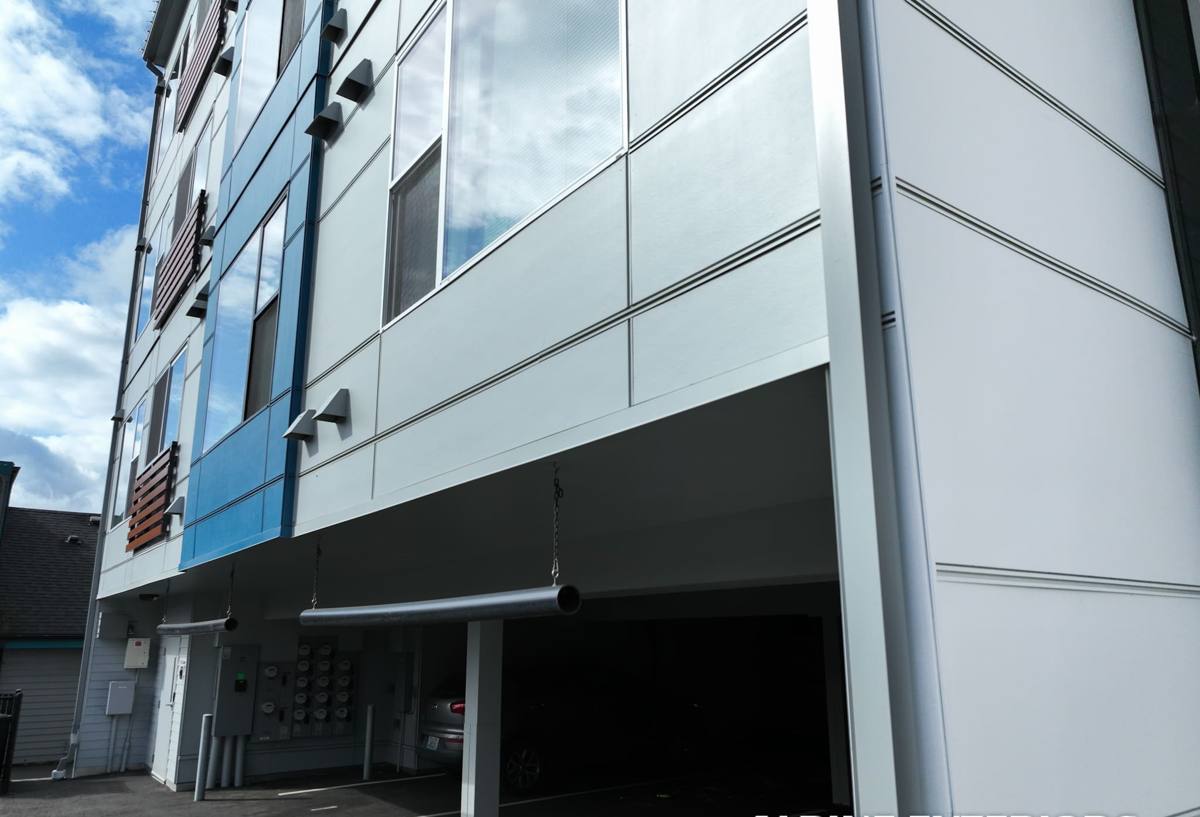
What Nooksack's Climate Actually Asks of a Window Install
Whatcom County weather is hard on building envelopes in a few specific ways, and Nooksack gets all of them. Salt-tinged marine air moving inland corrodes unprotected fasteners and cheap hardware faster than homeowners expect. Driving, wind-pushed rain — not just straight-down rain — is the norm for a good chunk of the year, which means flashing details that rely on gravity alone aren't enough. And the long stretch of damp, low-sun months that lets moss and algae take hold on roofs and siding does the same thing to window sills and trim if water isn't shedding cleanly away from the opening.
None of that is exotic information, but it changes real decisions on a new build: which fastener coatings we use, how deep the sill pan slopes, how much bedding sealant goes under the nailing fin versus at the face, and how much reliance we put on caulk alone (not much — caulk is maintenance, not primary defense).
What this means in practice
- Sill pans with a back dam and forward slope on every rough opening, not just the exposed elevations
- Corrosion-resistant fasteners at the nailing fin and through the jambs
- Head flashing that laps over the weather-resistive barrier — never tucked under it
- Sealant used to reinforce flashing laps, not substitute for them
- Trim and sill details that shed water instead of trapping it against the frame
The Anatomy of a Correct New-Construction Install
Flashing and Water Management
The rough opening gets a sloped sill pan before the window ever sees the opening. Jamb flashing runs up the sides, and head flashing goes in last, lapped over the housewrap above the window so water is always directed down and out, shingle-style, the same way it works on a roof. This order matters more than the window brand or the sealant used — a well-flashed budget window will outperform a premium window installed with reversed laps.
Nailing Fins and Fasteners
Nailing-fin windows need to be fastened per the manufacturer's schedule — skipping fastener locations to save time is one of the most common shortcuts we see corrected on other builders' punch lists. In a marine-influenced climate, fastener corrosion at the fin is a slow, hidden failure point, so we use fasteners rated for exterior, coastal-adjacent exposure rather than whatever is fastest to grab off the truck.
Sealant Selection and Placement
Sealant belongs at specific joints — never as a continuous bed across the whole nailing fin, which can trap water that gets past the primary flashing. We use sealants rated for the temperature swings and UV exposure this region actually sees, and we leave the manufacturer's designated weep and drainage paths open rather than sealing them shut for a tidier look.
Choosing the Right Window Frame for a Whatcom County New Build
Frame material matters more on new construction than on a one-off replacement, because you're committing to it for the life of the structure. Here's how the common options stack up for this climate and for new-build installation:
| Frame Material | Moisture / Salt-Air Behavior | Energy Performance | Long-Term Maintenance |
|---|---|---|---|
| Vinyl | Resists corrosion well; won't rot, but can flex slightly in temperature swings | Good, especially with multi-chamber frames and Low-E glass | Low — no painting, occasional cleaning |
| Fiberglass | Very stable dimensionally; handles moisture and salt exposure with minimal degradation | Very good; low expansion means tighter long-term seals | Low to moderate |
| Wood-clad | Attractive interior wood with a protective exterior cladding, but cladding seams need correct detailing to keep moisture off the wood core | Good, varies by product | Moderate — cladding seams and interior wood need periodic attention |
| Aluminum | Conducts cold and can condensate more in our wet winters unless thermally broken | Weakest of the group unless thermally broken | Low, but condensation issues can appear over time |
We don't push one material on every job. We factor in the home's design, budget, and how exposed the elevation is to wind-driven rain, and we're upfront about the trade-offs rather than steering a homeowner toward whatever is easiest for us to install.
Washington Energy Code and Egress Requirements
New construction has to meet the current Washington State Energy Code, which sets minimum U-factor (heat loss) and often solar heat gain requirements depending on the compliance path the builder is using for the home. On a new build, window selection is part of the whole-house energy calculation the builder's plans are based on — swapping a window spec after the fact can throw that calculation off, so we coordinate window U-factors with the builder or designer before ordering, not after.
Bedrooms also need at least one window meeting egress size and sill-height requirements for emergency escape. On new construction this is usually handled at the plan stage, but we double-check actual installed dimensions against code minimums before final inspection, since rough openings don't always come out exactly as drawn.
How We Work With Your Builder
Most of our new-construction work happens as a sub to a general contractor, which means our schedule has to mesh with framing, roofing, and siding crews rather than operate on our own timeline. Before we set a single window, we walk the rough openings and check them against the window order for size, square, and plumb — catching a framing error before the window arrives is a lot cheaper than catching it after.
We install the sill pan and flashing system, set and fasten the windows, and integrate our flashing with whatever weather-resistive barrier the builder is using, then hand the wall back to the siding crew with clear, correctly lapped flashing to tie into. We do a final check before drywall closes the interior side, since that's the last easy point to catch a gap or a missed fastener.
Mistakes We See Corrected on Other Builders' Punch Lists
We get called in on plenty of jobs where windows are already set and something isn't right. The patterns repeat often enough to be worth listing:
- Head flashing tucked under the housewrap instead of over it, letting water run behind the barrier
- No sill pan, or a flat sill pan with no slope to the exterior
- Continuous sealant bead under the nailing fin instead of at designated joints only, trapping moisture
- Missing fasteners at the schedule's required locations, especially at the top corners
- Rough openings out of square that get forced instead of corrected, straining the frame and the seal
- Weep holes or drainage paths caulked shut for a cleaner look
Every one of these is invisible once siding and trim go on, and every one of them shows up later as a stain, a soft spot, or a draft.
Why Local Experience in Nooksack Matters
We already work new-construction jobs around Lynden and the surrounding Nooksack area, so we're familiar with the builders, the typical lot conditions, and the way weather actually behaves on these sites through the wet months. That's not a small thing on a schedule-driven new build — knowing which weeks tend to bring driving rain, or how exposed a given elevation is to wind, shapes decisions about sequencing and flashing detail before problems get built in. A crew that's new to the area is learning these patterns on your house; we've already learned them on others nearby.
If you're building new in the Nooksack area and want a straight answer on window selection, sequencing, or what your rough openings actually need, we're glad to take a look and walk through it with you. Reach out for a free, no-pressure estimate using the form below.