 Lynden Exterior
 Building New in Maple Falls: Why Window Installation Isn't an Afterthought
If you're framing a new home in or around Maple Falls, the windows are one of the few components that have to perform on day one and keep performing for decades. Whatcom County throws a lot at a building envelope — long stretches of driving rain off the Pacific, salt-laden air moving in from the Strait of Georgia and Bellingham Bay, and a damp season that runs long enough to grow moss on anything that stays wet too long. New-construction window installation is your one real chance to get the water management right before siding, trim, and interior finishes cover it up. Get it wrong here and you're not looking at a callback — you're looking at rot behind the wall in five or ten years.
We install new-construction windows for builders and owner-builders throughout the Lynden area, including projects out toward Maple Falls. This page is about that specific scope of work: windows going into a new rough opening on a house that hasn't been lived in yet, not windows being swapped into an existing wall.
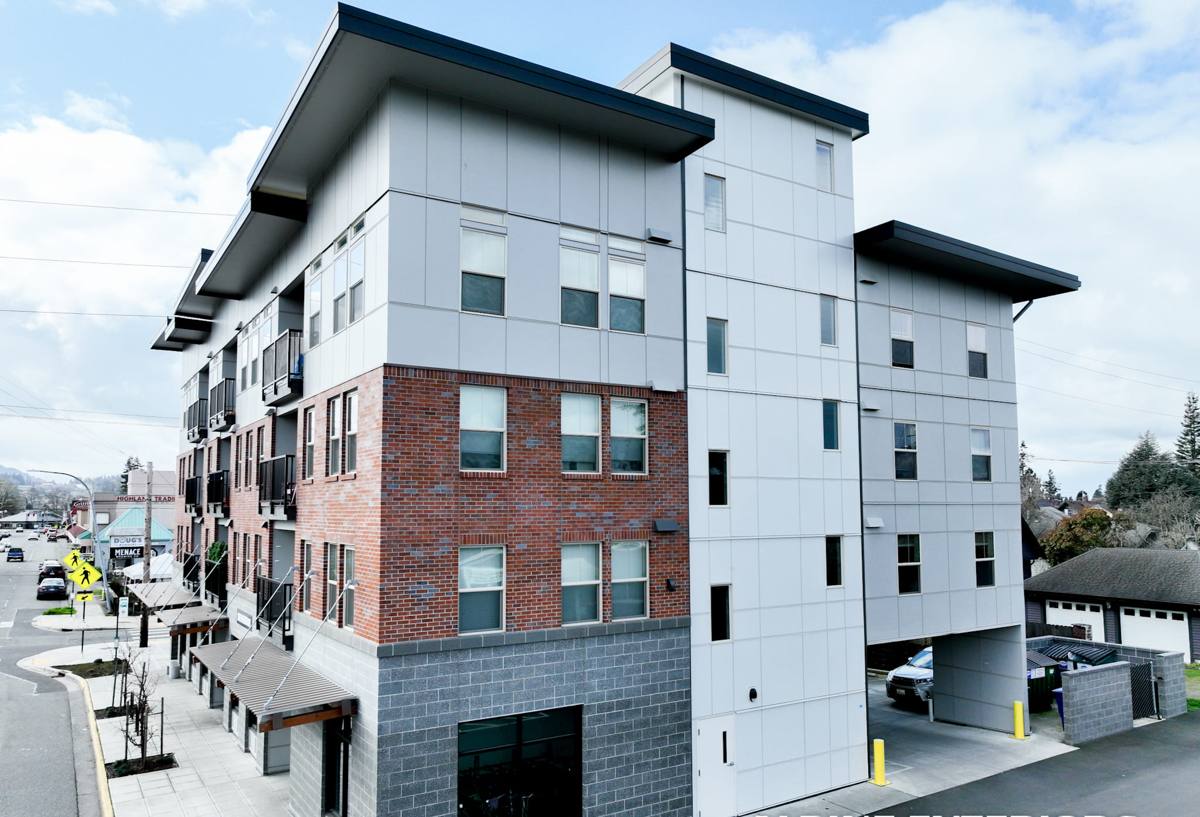
New Construction vs. Replacement: Why the Job Isn't the Same
A lot of homeowners assume "installing a window" is one job. It isn't. New-construction and replacement windows are built differently and installed with different methods, and mixing up the two approaches is where a lot of leaks start.
New-Construction (Nail Fin) Windows
These have a flange around the perimeter of the frame that gets nailed directly to the sheathing before the weather-resistive barrier (WRB) and siding go on. Because the window is installed before the exterior skin is finished, we control the entire water path — how the WRB laps over the flange, how the flashing tape integrates with the rough opening, and how the sill pan sheds any water that gets past the glass and frame.
Why That Sequence Matters Here
In a region with as much wind-driven rain as Whatcom County sees, the order of operations at the rough opening is what actually keeps water out — not the window itself. A premium window installed with the flashing layers in the wrong order will leak. A modest window installed with correct shingle-lap flashing will stay dry. New construction gives us the chance to do this correctly from bare sheathing, which is a real advantage over retrofit work.
What a Correct New-Construction Install Actually Involves
Framing crews cut a rough opening; that's not the same as a window opening that's ready to receive a window. Before any unit goes in, the opening needs to be prepped and sequenced properly.
Sill Pan First
Every opening gets a sloped or flashed sill pan so that any water that does make it past the window — through wind-driven rain, condensation, or a future failed seal — has somewhere to go besides the framing below it. This is the single most-skipped step on rushed new-construction jobs, and it's the one that causes sill rot years later.
Shingle-Lap Flashing Integration
Flashing tape and the WRB need to overlap in the correct order — sill, then jambs, then head — so water is always directed outward and down, never trapped behind a lap that runs the wrong way. The head flashing has to lap over the WRB above it, not under it.
Correct Fastening and Shimming
Nail-fin windows need to be shimmed square and plumb before fastening, with fasteners set at the manufacturer's spacing — not just at the corners. A frame that's slightly racked won't operate correctly and puts uneven stress on the seals over time.
Air Sealing at the Interior
Low-expansion foam or backer rod and sealant around the interior perimeter closes the air gap without bowing the frame. This also matters for meeting Washington's energy code, which we cover below.
Manufacturer Installation Instructions
Most window warranties are conditioned on installation matching the manufacturer's written instructions. We follow them by product line rather than using one generic method for every window, since fastening patterns and flashing details vary between manufacturers.
Choosing Windows for a Maple Falls Build
Frame material and glazing package matter more here than in a mild, dry climate. Between coastal moisture, driving rain, and a moss season that keeps surfaces damp for months, some materials simply hold up with less maintenance than others.
| Frame Material | How It Handles This Climate | Maintenance |
|---|---|---|
| Vinyl | Doesn't rot or corrode; performs well in damp, salt-air conditions | Low — occasional cleaning |
| Fiberglass | Very stable dimensionally, resists moisture and temperature swings well | Low |
| Wood (clad exterior) | Good insulating properties but the wood core needs the cladding and seals to stay intact | Moderate — watch seals and cladding joints |
| Aluminum | Strong and slim sightlines, but conducts cold and can corrode faster near salt air without proper coating | Moderate to high |
We don't push one brand or material on every job. What we do is talk through how a given product's frame, glazing spacer, and weep system will hold up to sustained wet weather and coastal-influenced air, and we'll tell you honestly if a product's maintenance demands don't fit how you want to live with the house.
Glass Packages Worth Discussing
- Double-pane, low-E glass is the baseline for new construction in this climate and meets current energy code in most configurations.
- Argon or krypton gas fill improves insulating performance without changing the look of the window.
- Impact-resistant or laminated glass is worth discussing for exposed elevations that take direct wind-driven rain.
- Warm-edge spacers reduce condensation risk on interior glass during cold, damp stretches — a real concern in Whatcom County winters.
Washington Energy Code and New-Construction Windows
New construction in Washington State has to meet the Washington State Energy Code, which sets minimum U-factor and solar heat gain requirements for windows based on the compliance path the builder is using. This isn't optional paperwork — it affects which window products are even eligible for the job, and it gets checked at inspection. We coordinate window selection with the builder or general contractor's energy compliance path so the units we install won't hold up your final inspection.
Our Process for a Maple Falls New-Construction Install
- Plan review and rough opening check. We confirm rough openings match window schedule dimensions before units are ordered, catching framing errors while they're still cheap to fix.
- Site walk with the builder or owner. We coordinate timing so windows go in at the right point in the build sequence — after sheathing and WRB prep, before siding.
- Sill pan and flashing installation. Every opening gets flashed in the correct shingle-lap order before the window is set.
- Window setting, shimming, and fastening. Units are set square and plumb and fastened per manufacturer spec.
- Interior air sealing. Perimeter gaps are sealed to meet code and stop drafts before insulation and drywall go in.
- Final check. We walk every opening again before it's covered by siding — this is the last point where a flashing mistake is easy to fix.
Why a Crew That Already Works Maple Falls Matters
New-construction window installation done right depends on judgment calls that come from repetition in a specific place — how much lap to give flashing on a wall that's going to take direct weather, which rough openings tend to run tight on certain builder's plan sets, and how a given product's weep system performs after a full wet season in this part of Whatcom County. A crew that's done this work around Lynden and out toward Maple Falls has already seen how these homes hold up a few years after the siding goes on, not just on install day. That matters more here than in a milder climate, because a flashing shortcut that would go unnoticed somewhere drier will show up as a stain or soft spot on a wall that takes sustained rain and stays damp under moss and shade for months at a time.
We also work directly with builders and framers on scheduling, since new-construction windows have to go in at a specific point in the build — too early and the opening isn't ready; too late and you're holding up siding and interior trades.
Checklist: What to Confirm Before Windows Go In
- Rough openings have been field-measured and verified against the window schedule, not just taken from the plans.
- Sill pan flashing is planned for every opening, not just the ones that face prevailing weather.
- The WRB and flashing tape brand are compatible with each other and with the window's exterior finish.
- Window U-factor and SHGC values match what the project's energy code compliance path requires.
- Installation will follow the specific manufacturer's instructions for that product line.
- There's a clear plan for who inspects flashing before siding covers it up.
Get an Estimate for Your Maple Falls Build
If you're framing a new home or working with a builder near Maple Falls or elsewhere in the Lynden area, we're glad to walk the plans, talk through window and flashing details, and give you a straightforward, no-pressure estimate for the window package and installation. Use the form below to get started.